Bringing a crocheted cat to life is all in the details, and the most captivating detail is the face. A well-shaped face with expressive features transforms simple yarn into a charming character with personality. This tutorial breaks down the process of shaping a cat’s face, focusing on the meticulous embroidery and finishing techniques that give your amigurumi its sweet and endearing expression. Whether you’re a seasoned crafter or new to amigurumi, mastering these steps will elevate your handmade toys.

The Foundation: Preparing Your Crocheted Head
Before any embroidery begins, a solid foundation is crucial. The process starts with a fully crocheted and stuffed cat head. The head should be firm but not overstuffed, allowing the embroidery needle to pass through smoothly without distorting the shape. The base color used here is white, providing a perfect canvas for the contrasting facial features. Having your head secured and ready on a stable surface, like the dark wooden table shown, ensures you have both hands free for the detailed work ahead. This preparation step, while simple, is key to a professional-looking final product.

Embroidering the Defining Features
This is where the magic happens. Using simple embroidery stitches, you can create a range of expressions. The tutorial demonstrates a classic, sweet cat face, achieved through a specific sequence.
1. Crafting the Mouth and Smile
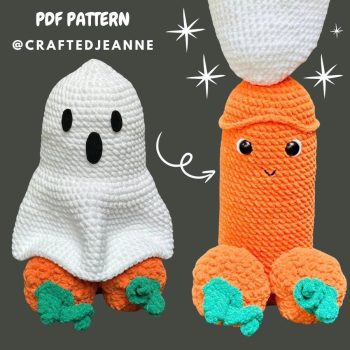
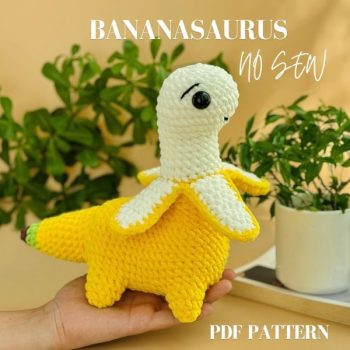
The expression often begins with the mouth. Using a black embroidery thread or yarn, the crafter starts at the center, just below where the nose will sit. A few small, straight stitches are used to create a subtle mouth line. The key is to pull the thread taut enough to create a slight indentation, which adds dimension and makes the mouth look natural, not just drawn on. This technique is similar to methods used in other amigurumi projects, like giving a playful smirk to a Handmade Bananasaurus Plush or defining the grin on a Crochet Surprise Mushroom Plush.

2. Adding Color with the Nose and Cheeks
After the black outline, color is introduced with pink thread. A small, triangular or rounded nose is stitched just above the mouth. French knots or small satin stitches can create a perfect, perky nose. The tutorial then shows the addition of tiny blush marks or additional contouring around the muzzle area with the same pink thread. This step adds warmth and a touch of realism, making the cat look soft and friendly. It’s a technique that can also add charm to other animals, such as the rosy cheeks of a Cute Crochet Hedgehog Plush Toy.

Refining the Details and Expression
With the main features in place, the next phase is about refinement and ensuring everything is symmetrical and expressive.
1. Securing and Shaping
The video emphasizes the importance of holding the head securely to maintain control. As you add more stitches, occasionally step back and look at the face from a distance to check for symmetry. Adjustments can be made by gently pulling or repositioning threads before they are permanently knotted off on the inside of the head. This attention to symmetry is what separates a good amigurumi from a great one.

2. The Final Touches
The final touches involve going over each feature to ensure it is secure and pronounced. This might mean adding an extra stitch to deepen the corner of the mouth or fluffing the pink cheek stitches. The eyes, which appear to be pre-made safety eyes inserted before stuffing, are framed by the surrounding embroidery, making them look integrated and lively. The contrast between the white yarn, black details, and pink accents creates a visually appealing and classic cat aesthetic.

Tips for a Perfect Finish
Beyond the basic steps, a few professional tips can make all the difference in your amigurumi projects.
- Thread Choice: Use an embroidery needle and a thread that matches the weight of your yarn. For a plush toy, embroidery floss or a thin strand of yarn separated from the main ply works well for fine details.
- Tension is Key: Consistent, firm (but not too tight) tension on your embroidery thread creates clean lines and prevents loose, loopy stitches.
- Practice on a Scrap: Before embroidering on your finished head, practice your mouth shape, nose, and French knots on a spare piece of crocheted fabric.
- Lighting and Magnification: Good lighting is essential. A craft lamp and even a magnifying glass can help with the tiniest stitches, ensuring precision.

Conclusion: The Joy of a Handmade Expression
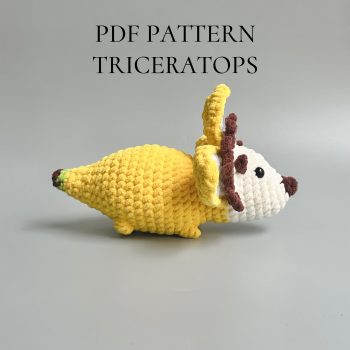
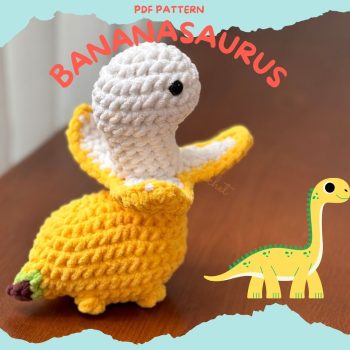
Shaping an amigurumi cat’s face is a rewarding process that blends craft with artistry. By following a clear sequence—preparing the base, embroidering the defining features, and refining the details—you can consistently create adorable, expressive characters. This technique is not limited to cats; it forms the foundation for giving personality to any amigurumi animal, from dinosaurs to hedgehogs. The final result, as seen in the tutorial, is a charming, handcrafted toy with a unique personality, ready to become a cherished gift or a beloved keepsake. Remember, each stitch adds character, so take your time and enjoy the process of bringing your crocheted creation to life.