There’s something uniquely satisfying about creating a cozy, seasonal decoration with your own hands. This detailed guide walks you through the entire process of crocheting a charming, plump pumpkin, perfect for adding a handmade touch to your fall decor or gifting to a fellow craft enthusiast. From the first stitch to the final closure, we’ll break down each step, making this classic amigurumi project accessible for crafters looking to expand their skills.

The Foundation: Gathering Your Materials and Starting the Magic Ring
Every great project begins with the right tools. For this pumpkin, you’ll need a few key items. The primary material is, of course, a skein of orange yarn. The weight of the yarn will determine the final size of your pumpkin; a worsted weight yarn is a great choice for a standard-sized decoration. You’ll also need a corresponding crochet hook, typically a size suitable for your chosen yarn (like a 4.0mm or 5.0mm hook). The video shows a simple, clean workspace—a wooden table—with a few other essentials nearby: a pair of red scissors for cutting yarn and a blue tapestry or darning needle for sewing.
The project begins with the foundational technique for most amigurumi: the magic ring (or magic circle). This method creates a tightly closed center, which is essential for stuffed items as it prevents a hole from forming. The crafter’s hands deftly form the ring and begin working the first round of single crochet stitches directly into the center. This initial stage is crucial for setting the shape of the pumpkin’s base.

Building the Body: Increasing, Shaping, and Stuffing
Once the magic ring is secure, the process of building the three-dimensional body begins. This involves a series of increases—adding more stitches in each subsequent round—to make the piece expand from a flat circle into a rounded dome. The video clearly shows the consistent, even stitches being added row by row. The focus here is on maintaining an even tension; tight, uniform stitches are the secret to a professional-looking amigurumi that will hold its shape beautifully after stuffing.
After several rounds of increases, the work transitions to a series of even rounds without increases. This creates the straight sides of the pumpkin’s middle section. The hands in the video work methodically, their movements a testament to the rhythmic, almost meditative quality of crochet. This phase is where the pumpkin truly starts to take on its recognizable form. Following the even rounds, the process reverses with a series of decreases. This gradual reduction of stitches begins to close the top of the pumpkin, creating the characteristic rounded shape.

Before the opening becomes too small, it’s time for the most satisfying step: stuffing. The crafter reaches for a handful of white polyester fiberfill, the standard stuffing for plush amigurumi. The key here is to stuff firmly and evenly. A well-stuffed pumpkin will have a pleasing, plump shape and won’t sag or become lumpy over time. The video shows the fiberfill being pushed into all the corners of the crochet shell, ensuring no flat or empty spots remain. This attention to detail is what separates a good project from a great one. For those who love creating adorable stuffed animals, the techniques used here are directly applicable to projects like our Cute Crochet Hedgehog Plush Toy, where shaping and stuffing are equally important.

The Finishing Touches: Closing, Shaping, and Embellishing
With the pumpkin nicely stuffed, the final closure begins. The crafter continues the decreasing rounds until only a small opening remains. At this point, the video shows a shift in tools. The crochet hook is set aside, and a large-eyed tapestry needle is threaded with the remaining yarn tail. Using a simple weaving or whip stitch, the crafter neatly sews the remaining opening shut. The needle is woven in and out of the front loops of the final round, pulling the stitches tight to completely seal the pumpkin. This technique ensures an invisible closure.
However, a spherical orange ball isn’t quite a pumpkin yet. The defining characteristic is its segmented, ribbed appearance. This is achieved through a simple but clever technique. The tapestry needle, now threaded with a long piece of the same orange yarn, is used to create indentations. The needle is inserted at the top (where the stem will go), pulled through the center of the pumpkin, and out at the bottom. It’s then brought back up to the top, close to the first entry point, and pulled tight. This process is repeated around the circumference of the pumpkin, typically 6-8 times, to create the classic pumpkin ridges. Each pull of the yarn cinches the fabric, forming deep grooves that perfectly mimic a real pumpkin’s shape.

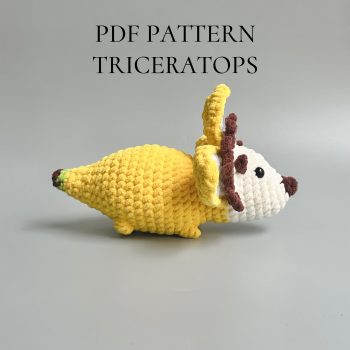
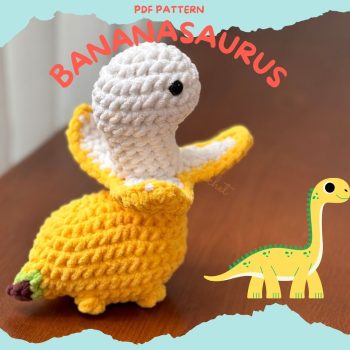
The final, crowning touch is the stem. A small piece of brown or green yarn is used to crochet a short, stubby cylinder or a curly vine. This stem is then securely sewn to the top center of the pumpkin, hiding the gathered point where all the shaping lines meet. The video concludes with the crafter’s hands holding the completed pumpkin, a testament to the transformation from simple yarn and hook into a delightful piece of autumn decor. This process of adding character-defining details is similar to the fun found in our Handmade Bananasaurus Plush Set, where small features bring the creation to life.

Key Takeaways for Your Crochet Journey
Crocheting this pumpkin is more than just following steps; it’s an exercise in fundamental amigurumi skills that can be applied to countless other projects. You’ve practiced the essential magic ring, mastered increases and decreases for shaping, learned the importance of firm, even stuffing, and applied a simple technique (the vertical stitching) to add dramatic visual detail. These are the building blocks for creating everything from animals to food items.
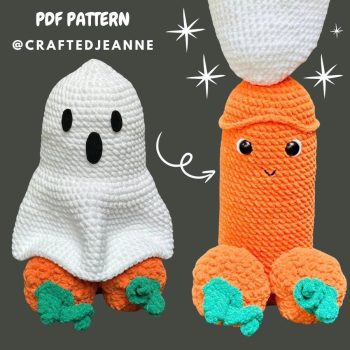
The beauty of this project lies in its simplicity and the stunning result. It requires no complex color changes or intricate stitch patterns, yet the finished product is incredibly effective and charming. It’s a perfect project for practicing consistency and finishing techniques. Whether you make one for your own mantel or a whole patch as gifts, the process is a rewarding way to celebrate the season with handmade warmth. The skills you hone here will serve you well as you explore other seasonal patterns, like those for creating unique Halloween-themed amigurumi.