Have you ever wanted to create a charming, handmade plush toy that’s perfect for gifting or adding a touch of cuteness to your home? This easy-to-follow guide will walk you through the process of making an adorable crochet dog bun, a perfect project for beginners. With clear, step-by-step instructions and helpful visual aids, you’ll learn how to craft this delightful amigurumi from start to finish, mastering essential stitches and assembly techniques along the way.

Getting Started: Materials and Foundation
Before diving into the stitches, it’s essential to gather your materials. For this project, you will need yarn in your chosen colors (white for the head and body, with red or pink for accents), a suitable crochet hook (a yellow hook is shown in the tutorial), safety eyes, a yarn needle, and fiberfill for stuffing. The tutorial is filmed against a clean, light-colored wooden surface, providing an organized and distraction-free workspace that helps you focus on the crafting process. This setup is ideal for following along, as every detail of the hands and yarn is clearly visible.
The foundation of any amigurumi project is creating a magic ring and working the initial rounds. The tutorial begins by showing the creation of separate pieces, starting with the ears. The instructions are clearly overlaid on the screen in text boxes, making it easy to follow the stitch count for each round. This method of presenting information ensures you won’t get lost, even if you’re new to reading crochet patterns.
![A pair of hands crocheting a white piece with a yellow hook, with a text box showing the instructions for Round 2: "ch1, 8inc, slst [16]".](https://pub-7b36e40ed3ac4618af4948520c4833c5.r2.dev/2026/03/frame_02_00m15s.jpg "Craft Your Own Adorable Crochet Dog Bun: A Beginner's Step-by-Step Guide 3")
Crafting the Main Components: Ears, Head, and Body
The project is broken down into manageable sections, which is a fantastic approach for beginners. You’ll start by making two identical ears. The tutorial provides a dedicated visual segment for this, with a light blue label clearly indicating “EARS (Make 2).” The instructions for rounds 4 through 6 are displayed, guiding you through the decreases that shape the ear. Working on smaller pieces first builds confidence before tackling the larger main body.

Next, you’ll move on to the HEAD & BODY, which is crafted as one continuous piece. This is the core of your dog bun. The tutorial meticulously shows each significant round, from the initial increases to the later stages where the form takes shape. The consistent use of the “HEAD & BODY” label in the corner keeps you oriented. Watching the hands manipulate the yarn and hook for each stitch provides an invaluable visual reference that complements the written instructions. For those who enjoy creating animal-themed amigurumi, you might find inspiration in other patterns like this Cute Crochet Hedgehog Plush Toy, which uses similar foundational techniques.
Assembly and Adding Character: Eyes and Features
Once the main pieces are crocheted, the magic happens during assembly. This is where your dog bun truly comes to life. The tutorial shows a crucial step: attaching the safety eyes. A hand holds the white crochet head with the red ears already secured to the sides. The instructions specify placing the eyes between rounds 10 and 11, and the video demonstrates using a black tool to safely secure the eye backs on the inside of the piece. This attention to detail ensures your finished toy is both secure and professional-looking.

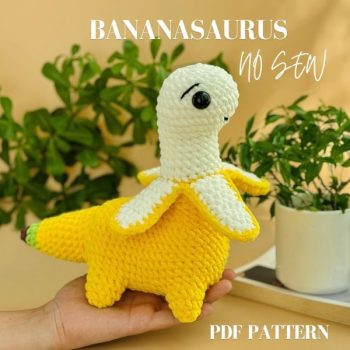
Stuffing the piece firmly and evenly is key to a good shape. Although not explicitly shown in the provided transcript, this step would logically occur after completing the body rounds and before closing the piece. The final rounds likely involve a series of decreases to close the opening neatly. The tutorial’s focus on clear, annotated instructions for rounds like 15 ensures you can follow this finishing process without confusion. The satisfaction of seeing a shapeless piece of yarn transform into a recognizable form is one of the great joys of amigurumi, a feeling you can also get from making a playful Handmade Bananasaurus Plush.

Why This Tutorial Works for Beginners
The success of this guide lies in its presentation. The creator has expertly combined several teaching methods to cater to different learning styles:
– Visual Demonstration: Continuous, close-up shots of the hands working each step.
– Clear Text Instructions: On-screen text boxes with round-by-round directions and stitch counts in brackets.
– Organized Labels: Color-coded banners (like the light blue rectangles) that tell you which part you’re working on.
– Clean Background: A simple, light workspace that keeps the focus entirely on the project.
This multi-faceted approach removes guesswork. You can watch the hand movements, read the stitch abbreviations, and see the expected stitch count all at once. It’s like having a patient teacher guiding you through each loop and pull. This method is especially helpful for mastering the consistent tension needed for amigurumi, which is vital for creating even, professional-looking stitches without gaps in the stuffing.

Tips for Success and Personalization
While the tutorial provides an excellent roadmap, here are some additional tips to ensure your first dog bun is a triumph:
– Choose the Right Yarn: A medium-weight (worsted) acrylic or cotton yarn is ideal for beginners. It’s easy to work with and holds its shape well.
– Hook Size Matters: Use a hook size slightly smaller than what the yarn label recommends. This creates tighter stitches that prevent stuffing from showing through.
– Count Your Stitches: Use a stitch marker! The on-screen stitch counts (e.g., [16], [2]) are your best friends. Placing a marker in the first stitch of each round helps you keep perfect track.
– Stuff As You Go: Don’t wait until the end to stuff large pieces. Add fiberfill gradually as you crochet to achieve an even, firm fill.
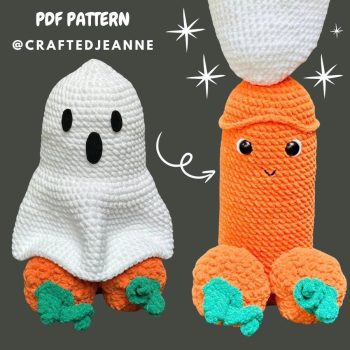
– Personalize It: The tutorial shows a white dog with red ears. Feel free to get creative! Make a brown dog, a spotted dog, or add a little embroidered nose or mouth for extra character.

Conclusion: Your Handmade Companion Awaits
Creating your own crochet dog bun is a rewarding project that combines the calming rhythm of crafting with the joy of creating something utterly charming. This tutorial excels at breaking down the process into clear, manageable stages, from forming the first ear to securing the final safety eye. By following the visual cues and written instructions, you’ll not only end up with a cute plush toy but also gain valuable skills in basic amigurumi techniques, increases, decreases, and assembly. The principles you learn here—reading on-screen patterns, maintaining consistent tension, and assembling parts—are directly transferable to countless other projects. Ready for another fun animal to crochet? The techniques used in this dog bun are a great foundation for tackling something like a Handmade Crochet Hen & Chicks Gift Set. So, grab your hook and yarn, find a comfortable spot, and start stitching your very own pack of adorable crochet companions today.